
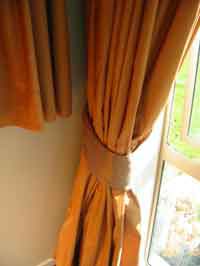
Craft Projects – How to Make Fabric Curtain Tie Backs
A simple sewing exercise for the beginner and an easy way to jazz up your curtains.
Ingredients
Sewing Machine, Thread, Pins, Scissors, Fabric, Tie Back Kit (includes padded tie back fill, rings and hooks)
Method
Fold tieback fill in half, measure, then fold back fabric enough to fit the folded tieback fill. Pin these in place to make your pattern allowing 1.7cm around the outside of the pattern (fill). Use tailors chalk to mark out on the fabric the seam allowance. You will need 4 pieces of fabric to make 2 tiebacks.
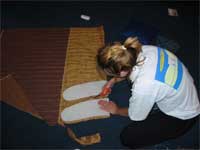
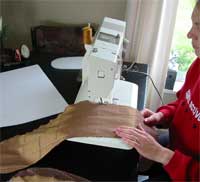
Cut around the marked seam allowance. Overlock or overedge stitch all the raw edges of the tiebacks.
A simple sewing exercise for the beginner and an easy way to jazz up your curtains.
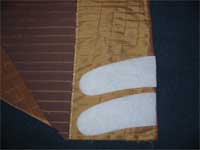
Use fill as a pattern and allow 1.7 cm around the edges.
Cut the fabric.
Overlock or overedge stitch all the raw edges of the tiebacks.
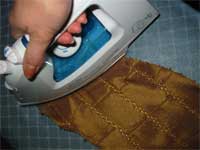
Then press the edges flat.
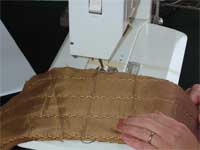
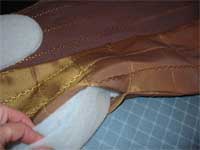
Place 2 together with right sides facing. Pin all the way around leaving approximately 12 cm opening to allow for fill to be placed.
Stitch with 1.5 cm seam allowance
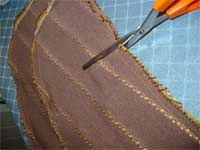
Then clip curves.
Stitch with 1.5 cm seam allowance. Then clip curves.
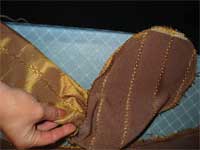
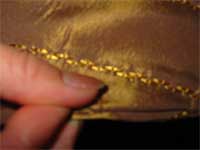
Turn to right sides facing out and press
Take the tieback infill and stuff the covers through the opening you have left.
Turn to right sides facing out and press. Then take the tieback infill and stuff the covers through the opening you have left. Press again. Slip stitch the opening closed and press.
Slip stitch the opening closed and press.
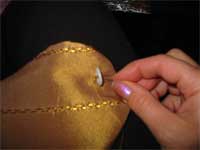
Sew on the ring
Mark on each end where you want to sew on the rings. They should be centred and approximately 1.5 – 2.5cm from the edge. Hand stitch these on.
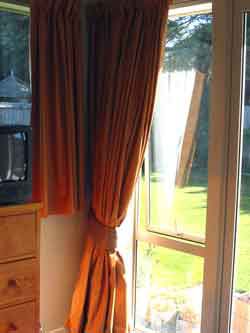
There you have it. A simple way to Jazz up your curtains.
You now need to place your hooks in the wall. Measure up the same distance from the floor for each side. Thirds usually work well, so measure the entire height of your curtains and divide it by three.
Then come up from the ground one third and there you can place your hooks. (Use this as a guide, because not all windows look the same, you can use a mullion to line up with or you may be wanting to pull the curtains back high. Hold them in place an look before you decide where to put the hooks.)
There you have it. A simple way to Jazz up your curtains.
